How to Create a WordPress Website: A Step-by-Step Guide for Beginners

Introduction to WordPress: What Is It and Why Choose It?
WordPress has become the backbone of the modern web, powering over 40% of all websites globally. As a beginner venturing into the world of website creation, you might wonder why WordPress stands out from the crowd. Let me explain why it’s my go-to platform for building websites, both for myself and my clients.
At its core, WordPress is a content management system (CMS) that allows users to create and manage websites without needing extensive coding knowledge. It’s open-source, which means it’s free to use and constantly improved by a vast community of developers worldwide. This collaborative effort has resulted in a platform that’s not only powerful but also incredibly flexible.
One of the main reasons I recommend WordPress to beginners is its user-friendly interface. The learning curve is gentle, allowing you to start with the basics and gradually explore more advanced features as you grow comfortable with the platform. Moreover, WordPress’s extensive library of themes and plugins means you can customise your site to fit almost any purpose, from a simple blog to a complex e-commerce store.
Essential Preparations Before Creating Your WordPress Website
Before diving into the nitty-gritty of building your WordPress site, it’s crucial to lay a solid foundation. This preparation phase can make the difference between a smooth sailing experience and a frustrating one. Let’s go through the key steps you should take before even touching WordPress.
- Define your website’s purpose and goals
- Research your target audience
- Plan your content strategy
- Sketch a basic site structure
- Gather necessary assets (logo, images, copy)
By taking the time to plan these elements, you’ll have a clear roadmap for your website creation journey. This foresight will save you time and effort in the long run, as you’ll be less likely to make major changes once your site is up and running.
Remember, a well-prepared website creation is a successful one. Don’t rush this stage; the clearer your vision, the smoother your WordPress journey will be.
How to Create a WordPress Website: Selecting and Registering Your Domain Name
Choosing the right domain name is a crucial step in creating your WordPress website. It’s not just an address; it’s your digital identity. When selecting a domain name, I always advise my clients to keep it simple, memorable, and relevant to their brand or purpose.
Here are some tips to help you choose the perfect domain name:
- Keep it short and easy to type
- Avoid numbers and hyphens
- Make it brandable and unique
- Use appropriate domain extensions (.com, .org, .net)
- Check for trademark infringements
Once you’ve settled on a domain name, it’s time to register it. There are numerous domain registrars available, such as GoDaddy, Namecheap, or Google Domains. I personally prefer using the same provider for both domain registration and hosting, as it simplifies management.
During the registration process, you’ll need to provide personal information and pay a fee, typically annually. Many registrars offer additional services like privacy protection, which helps to keep your personal information out of public WHOIS databases.
How to Create a WordPress Website: Choosing a Reliable and Secure Web Hosting Provider
Selecting the right web hosting provider is as crucial as choosing your domain name. A good host ensures your website stays online, loads quickly, and remains secure. When I’m helping clients choose a host, I consider several factors:
- Uptime guarantee: Look for providers offering at least 99% uptime.
- Server speed: Faster servers mean better performance and SEO rankings.
- Security features: SSL certificates, malware scanning, and regular backups are essential.
- Customer support: 24/7 support can be a lifesaver when issues arise.
- Scalability: Ensure the host can accommodate your site as it grows.
Some popular hosting providers I often recommend include Hostinger, Bluehost and SiteGround. These companies offer WordPress-specific hosting plans that come with one-click WordPress installation, making the setup process a breeze.
When choosing a plan, consider your expected traffic and resource needs. Shared hosting is often sufficient for beginners, but as your site grows, you might need to upgrade to VPS or dedicated hosting for better performance and control.
Installing WordPress: A Step-by-Step Guide
Now that you have your domain and hosting sorted, it’s time to install WordPress. Many hosting providers offer one-click installations, but I’ll guide you through a manual installation to give you a better understanding of the process.
- Download the latest version of WordPress from wordpress.org
- Create a database on your hosting account
- Upload WordPress files to your hosting account
- Run the WordPress installation script
Here’s a more detailed breakdown of these steps:
- Download WordPress: Visit wordpress.org and download the latest version.
- Create a database:
- Log into your hosting control panel
- Find the MySQL Databases section
- Create a new database and user, noting down the details
- Upload WordPress:
- Extract the WordPress files on your computer
- Use an FTP client to upload these files to your hosting account
- Run the installation:
- Visit your domain name in a browser
- Follow the on-screen instructions, inputting your database details when prompted
After completing these steps, you’ll have a fresh WordPress installation ready for customisation.
Navigating the WordPress Dashboard
Once you’ve successfully installed WordPress, you’ll be greeted by the WordPress dashboard. This is your control centre, where you’ll manage all aspects of your website. Let’s take a tour of the main areas you’ll be working with.
On the left side of the dashboard, you’ll find the main navigation menu. Here are the key sections:
- Posts: For creating and managing blog posts
- Media: Where you’ll upload and manage images, videos, and other media files
- Pages: For creating static pages like ‘About Us’ or ‘Contact’
- Comments: Manage user comments on your posts
- Appearance: Customise your site’s look and feel
- Plugins: Add and manage additional functionalities
- Users: Manage user accounts and roles
- Tools: Import/export content and other utilities
- Settings: Configure various site-wide settings
Take some time to explore each of these sections. Familiarising yourself with the dashboard layout will make your WordPress journey much smoother. Don’t worry if it feels overwhelming at first; with practice, navigating the dashboard will become second nature.
How to Create a WordPress Website: Selecting and Customising Your WordPress Theme
Choosing the right theme is crucial for creating a visually appealing and functional WordPress website. A theme determines your site’s layout, colour scheme, and overall design. When selecting a theme, I always consider the following factors:
- Responsiveness (mobile-friendly design)
- Customisation options
- Loading speed
- Compatibility with popular plugins
- Regular updates and support
WordPress offers both free and premium themes. While free themes are a good starting point, premium themes often provide more features and better support. Some reputable theme marketplaces include ThemeForest, StudioPress, and the official WordPress Theme Directory.
Once you’ve chosen a theme, it’s time to customise it to match your brand. Here’s how:
- Go to Appearance > Themes in your WordPress dashboard
- Click ‘Add New’ and either upload your chosen theme or select one from the WordPress repository
- Once installed, click ‘Activate’ to apply the theme
- Go to Appearance > Customize to access the theme customisation options
In the Customizer, you can typically modify:
- Colour schemes
- Typography
- Header and footer layouts
- Widget areas
- Homepage layouts
Remember, the goal is to create a unique look that aligns with your brand while maintaining a user-friendly design.
Configuring Essential WordPress Settings
Before diving into content creation, it’s crucial to configure your WordPress settings correctly. These settings lay the foundation for how your site functions and appears to both users and search engines. Let’s walk through the essential settings you should review:
- General Settings:
- Set your site title and tagline
- Confirm your WordPress and site address URLs
- Choose your preferred time zone and date format
- Writing Settings:
- Set your default post category
- Choose your default post format
- Reading Settings:
- Decide what your homepage displays (latest posts or a static page)
- Set the number of posts to show on blog pages
- Discussion Settings:
- Configure comment moderation settings
- Choose whether to allow pingbacks and trackbacks
- Permalink Settings:
- Select a URL structure for your posts (I recommend using post name for SEO benefits)
To access these settings, navigate to the ‘Settings’ menu in your WordPress dashboard. Take your time to go through each option, considering how it aligns with your site’s goals and your personal preferences.
How to Create a WordPress Website: Essential Plugins for Your WordPress Website
Plugins are powerful tools that extend the functionality of your WordPress site. While WordPress is feature-rich out of the box, plugins allow you to add specific functionalities without needing to code. Here are some essential plugins I recommend for most WordPress sites:
- Yoast SEO: Helps optimise your content for search engines
- Wordfence Security: Provides robust security features to protect your site
- WP Super Cache: Improves your site’s loading speed
- Contact Form 7: Allows you to create and manage multiple contact forms
- UpdraftPlus: Offers easy and reliable backup and restoration
To install a plugin:
- Go to Plugins > Add New in your WordPress dashboard
- Search for the plugin you want
- Click ‘Install Now’, then ‘Activate’
Remember, while plugins are useful, too many can slow down your site. Only install plugins you truly need and regularly review and remove any that are no longer necessary.
Creating Pages and Posts: The Building Blocks of Your Site
Pages and posts are the primary content types in WordPress. Understanding the difference between them and knowing how to create both is crucial for building a well-structured website.
Pages are static, standalone content that rarely change. They’re typically used for content like ‘About Us’, ‘Contact’, or ‘Services’. To create a page:
- Go to Pages > Add New in your dashboard
- Add a title and your content
- Set a featured image if desired
- Publish or schedule the page
Posts, on the other hand, are dynamic content entries, typically used for blog articles or news updates. They’re displayed in reverse chronological order on your blog page. To create a post:
- Go to Posts > Add New
- Add a title and your content
- Assign categories and tags
- Set a featured image
- Publish or schedule the post
Both pages and posts use the WordPress block editor, which allows you to create rich, multimedia content easily. Experiment with different blocks to create engaging layouts for your content.
Mastering Image Upload and Management in WordPress
Visual content is crucial for engaging your audience and breaking up text. WordPress makes it easy to upload and manage images, but there are some best practices to keep in mind:
- Optimise images before uploading: Large image files can slow down your site. Use tools like TinyPNG to compress images without losing quality.
- Use descriptive file names: Instead of “IMG_1234.jpg”, use something like “red-apple-on-wooden-table.jpg”.
- Add alt text: This helps with SEO and accessibility for visually impaired users.
To upload an image:
- Go to Media > Add New, or use the ‘Add Media’ button when editing a post or page
- Select your image file or drag and drop it into the upload area
- Once uploaded, you can edit the title, caption, alt text, and description
For images within your content, you can easily resize and align them using the block editor tools. Remember to maintain a balance between text and images for the best user experience.
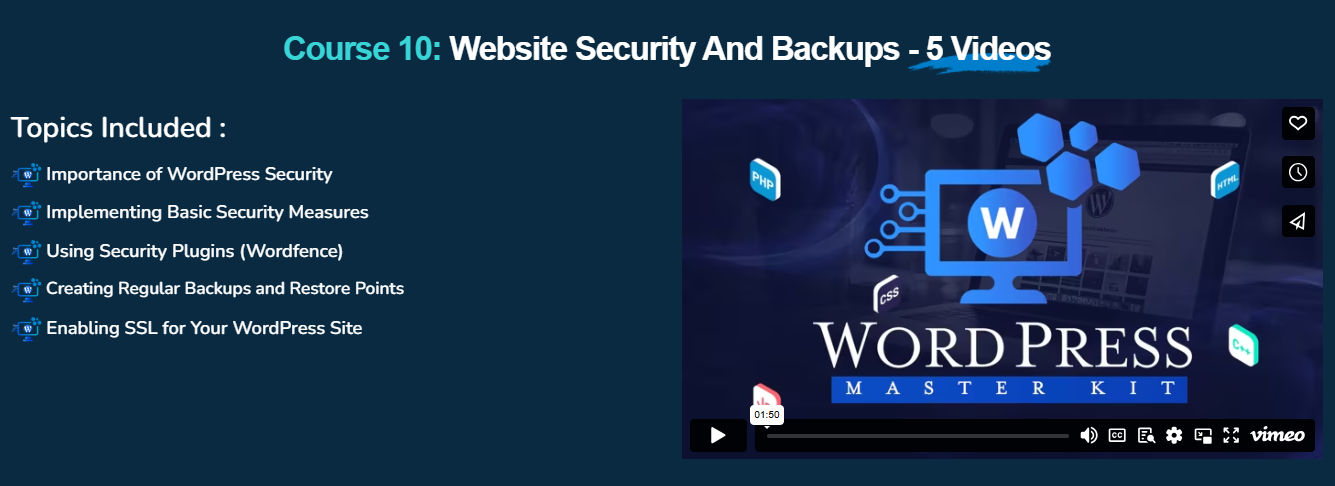
How to Create a WordPress Website: Implementing Robust Security Measures for Your WordPress Site
Security should be a top priority for any website owner. WordPress is generally secure, but there are additional steps you can take to protect your site from potential threats:
- Use strong passwords: Implement a strong password policy for all user accounts.
- Keep WordPress updated: Regularly update WordPress core, themes, and plugins.
- Install a security plugin: As mentioned earlier, plugins like Wordfence can add an extra layer of protection.
- Enable two-factor authentication: This adds an additional step to the login process, making it harder for unauthorised users to access your site.
- Limit login attempts: This helps prevent brute force attacks.
- Use SSL: Ensure your site uses HTTPS to encrypt data transmission.
- Regular backups: While not strictly a security measure, having recent backups can be a lifesaver if your site is compromised.
Implementing these measures will significantly reduce the risk of your site being hacked or compromised. Remember, security is an ongoing process, not a one-time task.
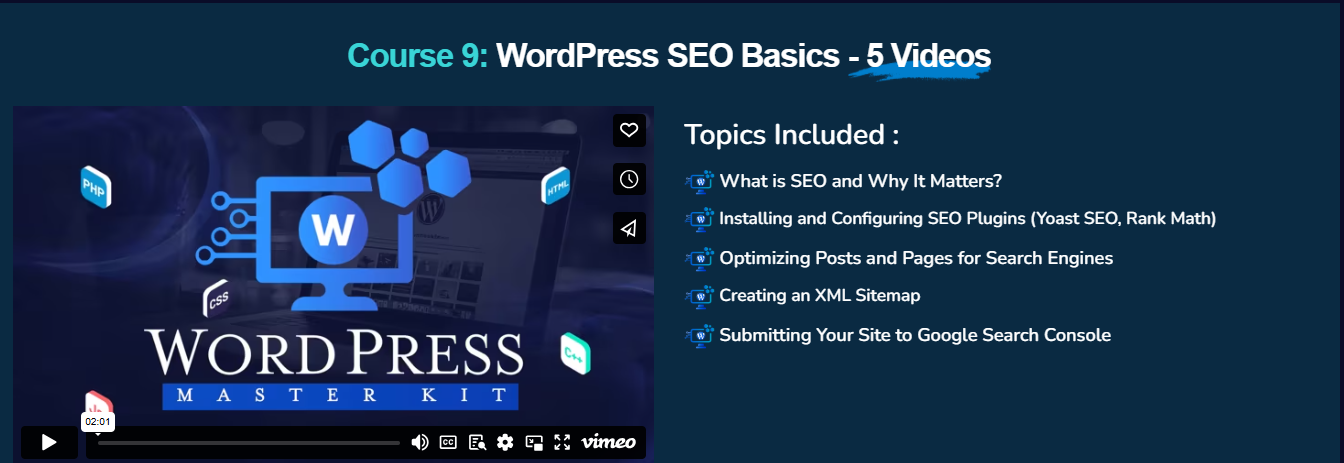
How to Create a WordPress Website: SEO Best Practices for WordPress Websites
Search Engine Optimisation (SEO) is crucial for getting your WordPress site found on search engines. Here are some best practices I always follow:
- Use SEO-friendly permalinks: Go to Settings > Permalinks and choose a structure that includes your post name.
- Install an SEO plugin: Yoast SEO or All in One SEO Pack can help optimise your content.
- Optimise your content: Use relevant keywords in your titles, headers, and throughout your content naturally.
- Create quality content: Search engines favour sites with valuable, original content.
- Optimise images: Use descriptive file names and alt text for images.
- Improve site speed: Use caching plugins and optimise images to improve loading times.
- Build quality backlinks: Encourage other reputable sites to link to your content.
- Use internal linking: Link to other relevant pages within your site to improve navigation and SEO.
Remember, SEO is a long-term strategy. It takes time to see results, but consistently applying these practices will improve your site’s visibility in search results.
Optimising Your WordPress Site for Speed and Performance
A fast-loading website is crucial for user experience and SEO. Here are some strategies I use to optimise WordPress sites for speed:
- Choose a lightweight theme: Some themes are bloated with unnecessary features that slow down your site.
- Use a caching plugin: Tools like WP Super Cache or W3 Total Cache can significantly improve load times.
- Optimise images: Compress images and use the correct file formats (JPEG for photographs, PNG for graphics with transparent backgrounds).
- Minify CSS and JavaScript: Use plugins like Autoptimize to reduce file sizes.
- Use a Content Delivery Network (CDN): This distributes your site’s static files across multiple servers worldwide, reducing load times for visitors.
- Limit post revisions: Set a maximum number of revisions WordPress keeps for each post.
- Clean your database: Remove unnecessary data like spam comments and post revisions.
- Update PHP: Ensure your hosting is using the latest version of PHP for improved performance.
Regularly test your site’s speed using tools like Google PageSpeed Insights or GTmetrix, and make adjustments as needed.
Configuring WordPress Backups: Safeguarding Your Website
Regular backups are your safety net against data loss, whether from hacking, user error, or server issues. Here’s how I approach WordPress backups:
- Choose a backup plugin: UpdraftPlus or BackupBuddy are excellent options.
- Set up automated backups: Configure your chosen plugin to perform regular backups automatically.
- Store backups off-site: Use cloud storage services like Google Drive or Dropbox to store your backups.
- Backup before major changes: Always create a backup before updating WordPress, themes, or plugins.
- Test your backups: Regularly ensure you can restore your site from a backup.
- Keep multiple backup versions: Store backups from different time points in case you need to revert to an older version.
Remember, your backup strategy is only as good as your ability to restore from it. Familiarise yourself with the restoration process before you actually need it.
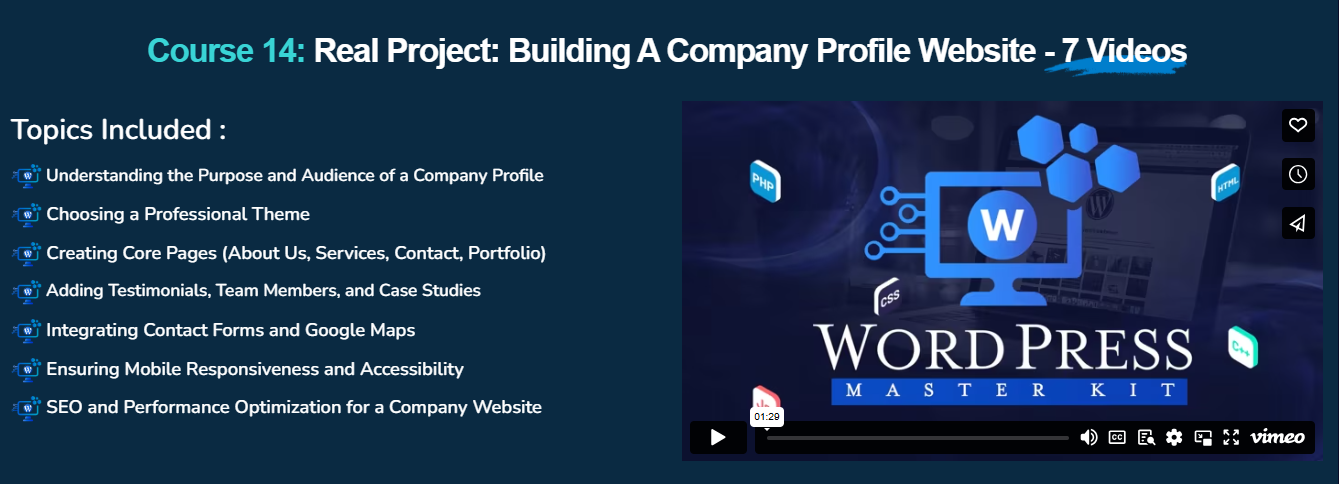
How to Create a WordPress Website: Adding Your Company Profile and Branding Elements
Your WordPress site should reflect your brand identity. Here’s how to incorporate your company profile and branding:
- Logo: Upload your logo in Appearance > Customize > Site Identity.
- Colour scheme: Adjust your theme’s colours to match your brand palette.
- Typography: Choose fonts that align with your brand guidelines.
- About page: Create a compelling ‘About Us’ page that tells your company’s story.
- Team members: Consider adding a ‘Team’ page to showcase the people behind your brand.
- Social media integration: Add links to your social media profiles in your header or footer.
- Custom favicon: Upload a favicon (the small icon in browser tabs) that represents your brand.
Remember, consistency is key in branding. Ensure all elements of your site align with your overall brand identity for a cohesive user experience.
Ensuring User-Friendliness: Navigation and Accessibility Tips
A user-friendly website is crucial for engaging visitors and reducing bounce rates. Here are some tips to improve navigation and accessibility:
- Clear menu structure: Organise your main menu logically, with the most important pages easily accessible.
- Use breadcrumbs: These help users understand their location within your site structure.
- Implement a search function: Allow users to easily find specific content.
- Mobile responsiveness: Ensure your site works well on all devices.
- Use descriptive anchor text: Make your links clear about where they lead.
- Use sufficient colour contrast: This helps visually impaired users read your content.
- Add alt text to images: This helps both SEO and accessibility for visually impaired users.
Remember, a user-friendly site not only improves user experience but also contributes to better SEO performance.
How to Create a WordPress Website: Managing WordPress Updates and Maintenance
Regular maintenance is crucial for keeping your WordPress site secure and performing optimally. Here’s my approach to updates and maintenance:
- Set up automatic updates: For minor WordPress core updates and plugin updates.
- Regularly check for updates: Log in to your dashboard weekly to check for any pending updates.
- Update in stages: Update plugins one at a time, checking your site after each update.
- Use a staging site: Test major updates on a staging site before applying them to your live site.
- Monitor your site’s performance: Regularly check your site’s speed and functionality.
- Clean up your database: Remove unnecessary data like spam comments and post revisions.
- Review and update content: Regularly review your content for accuracy and relevance.
- Check for broken links: Use a plugin like Broken Link Checker to find and fix broken links.
Remember, consistent maintenance prevents small issues from becoming major problems down the line.
Strategies for Getting Your WordPress Site Found on Google
Getting your WordPress site found on Google involves a combination of SEO best practices and content strategy. Here are some effective strategies:
- Submit your sitemap: Use Google Search Console to submit your XML sitemap.
- Create high-quality content: Regularly publish valuable, original content that addresses your audience’s needs.
- Optimise for keywords: Use relevant keywords naturally in your content, titles, and meta descriptions.
- Build quality backlinks: Encourage reputable sites to link to your content.
- Improve site speed: Fast-loading sites are favoured by Google’s algorithm.
- Use schema markup: This helps search engines understand your content better.
- Optimise for local search: If you’re a local business, claim your Google My Business listing.
- Create a content calendar: Plan and publish content consistently.
Remember, SEO is a long-term strategy. Be patient and consistent in your efforts, and you’ll see improvements in your search engine rankings over time.
How to Create a WordPress Website: Launching and Growing Your WordPress Website
Creating a WordPress website is an exciting journey, and I hope this guide has given you the confidence to embark on it. Remember, your website is never truly “finished” – it’s an evolving platform that grows with your business or personal brand.
As you launch your site, don’t be afraid to seek feedback from users and make adjustments accordingly. Continuously monitor your site’s performance, engage with your audience, and stay updated with the latest WordPress developments.
Building a successful WordPress website is a journey of continuous learning and improvement. Embrace the process, stay curious, and most importantly, enjoy watching your digital presence grow and evolve. Here’s to your WordPress success!
View Gold Coast Local Business Websites to see how I structure MY websites!


